
-
devcreation
Product Photography Setup: A Complete Guide to Creating Professional Product Images
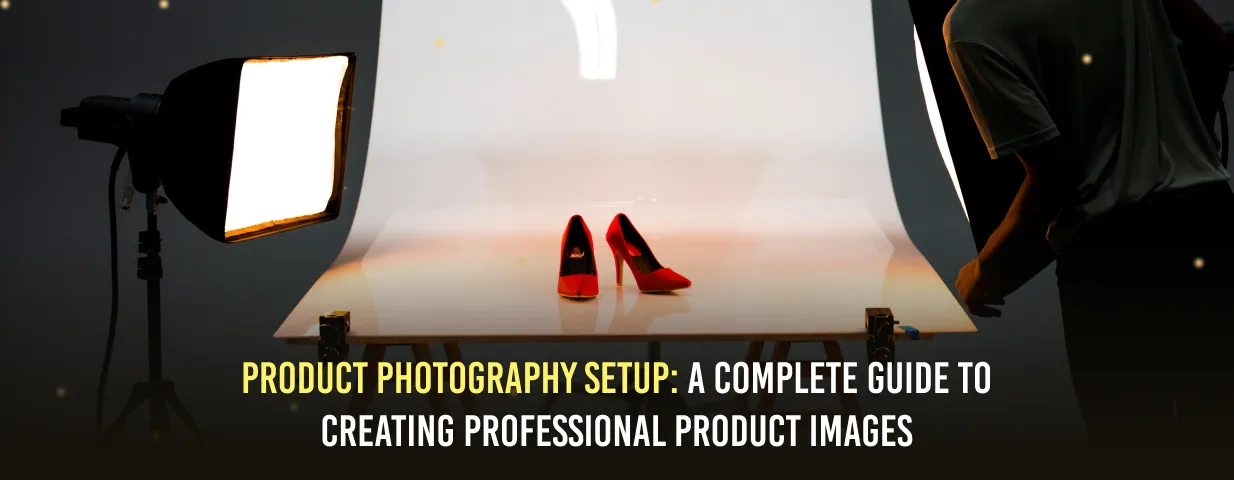
The professional product photos are an essential part of the perception of a brand by customers. Whether you are using the images on an eCommerce website, marketplace, catalog, brochure, or social media platform, they should look clear, consistent, and attractive. Professional product photography setup are planned in advance so that lighting, background, camera position, styling, and composition can be controlled to achieve a professional look.
Good photography doesn’t mean having an expensive camera. The full shooting environment results in the quality of the image. All of the equipment, lighting, and preparation process.
What Is Product Photography?
If you are wondering what is product photography then it is a process of creating high-quality images that clearly show a product’s appearance, shape, texture, packaging, features, and important details.
These images are popular for online shops, advertisements, websites, catalogs, and social media. Professional product photography work planning, preparing the product, lighting, styling, camera settings, shooting, and final editing.
With good product photography, businesses can:
- Present products in a professional manner
- Emphasize key product information
- Maintain consistency across platforms
- Increase customer confidence
- Improve brand presentation overall
Understanding what is product photography is also assists businesses in determining what kind of images they need for different marketing channels.
Essential Product Photography Equipment
With the proper product photography equipment, you can get cleaner, sharper, and more consistent images. The equipment used depends on the size, surface, and type of product to be shot.
Professional shoots often use a DSLR or mirrorless camera, as it provides more control over exposure, focus, and image quality. But a modern smartphone is also fine for simple product shots if you get the lighting and composition right.
Basic equipment usually includes:
- DSLR, Mirrorless or Mobile Phone
- Lens suitable for the product
- Stable tripod
- Softbox or LED light
- Reflector, diffuser, and background
Selecting quality product photography equipment can help make the shooting process more efficient and lessen the correction work during the editing process. For brands that need a broader range of professional visual services, commercial photography can help create consistent images for advertising, branding, websites, and marketing campaigns.
Product Photography Lighting Setup
Lighting is one of the most important elements in a good product photography setup. Bad lighting can lead to harsh shadows, incorrect colors, strong reflections, or a flat-looking product.
You can do a simple product photography lighting setup with one or two soft lights set around the product. Reflectors can be used to illuminate dark areas, while diffusers can be used to soften highlights and reduce glare from reflective surfaces.
Window light is nice for lifestyle stuff, but if you are shooting the same thing over and over, artificial light is more consistent.
For better lighting results:
- Use soft and uniform light
- Avoid harsh direct lighting
- Keep light positions constant
- Diffusers for reflecting products
- Check the color accuracy before you shoot
The professional product photography lighting setup should be focused on the shape, texture, packaging, and other important visual details of the product.
Studio Setup for Product Photography
You don’t need a large space to build a professional studio setup for product photography. A small room can work just fine as long as you have enough space for the camera, lights, background, and product table.
The shooting area should be clean and free of distractions. White backgrounds are great for eCommerce, but colored or lifestyle backgrounds can help with branding and advertising.
A good studio setup also helps the photographer keep the same camera angles, lighting positions and image styles for multiple products. Professional Product Photography helps businesses present different products with the right lighting, composition, background, and styling.
Step-by-Step Product Photography Setup
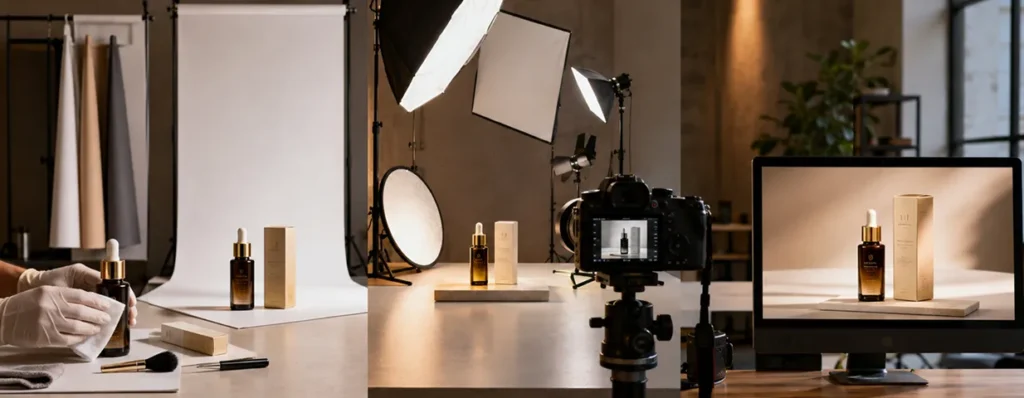
The consistency in workflow helps to make the whole product photography setup more manageable and helps in minimizing errors.
Prepare the Product
Make sure that you clean the product well and get rid of all dirt, fingerprints, scratches, or damaged labels.
Select the Background
Select the background in accordance with the product category and the place where the resulting image will be applied.
Arrange the Lighting
Arrange the lights in relation to the product size, shape, and texture. Test the shadows and highlights before the actual shoot.
Position the Camera
Use a tripod to maintain stable framing and consistent camera height.
Adjust Camera Settings
Set the correct ISO, aperture, shutter speed, white balance, and focus to achieve sharp and accurate images.

Product Photography Setup for Different Products
A variety of shooting techniques will apply to a variety of products. The product photography setup should vary with regard to materials, colors, sizes, textures, and reflective nature.
Product Type | Best Background | Lighting Style | Main Focus |
Food & Beverages | Neutral or lifestyle | Soft and natural | Freshness and texture |
Jewellery | White or dark | Controlled and diffused | Fine details and shine |
Cosmetics | Clean or branded | Soft lighting | Packaging and labels |
Fashion Products | Plain or lifestyle | Even lighting | Shape and colour |
Glossy Packaging | Neutral | Large diffused light | Reflection control |
For instance, for jewelry, reflection control is of great importance, whereas for food items, lighting and styling play a key role.
Common Product Photography Mistakes
The major reason why issues arise in product photography work is lack of proper preparation on the part of the photographer and not the camera itself.
Common mistakes include:
- Employing poor lighting
- Selecting a wrong background
- Ignoring any dust or fingerprints
- Using different camera angles
- Too much editing of colors and details
Failure to avoid the above errors will lead to poor quality of product photography work.
Home vs Professional Studio
A home-based product photography setup is ideal for small products, startups, and businesses on a budget. In such cases, all that is required is just a table, a tripod, a simple background, lighting, and a reflector.
For premium packaging, food styling, reflective products, large campaigns, or high-volume catalogues, a professional studio setup for product photography offers better control over lighting, backgrounds, equipment, and workflow.
An organized studio setup for product photography also helps in maintaining consistency over a wide range of products.
Tips to Improve Product Photography Quality
Image improvement is all about being consistent and focusing on details. The final pictures need to be an accurate representation of the product and at the same time look professional and nice.
Some useful tips are fixing the positions of the cameras, checking the test pictures, having good colors, using a clean background, and selecting good product photography equipment. Consistency will help make the job easier in the future when working on new products. Creative presentation can also help bring Products to Life with Creative Visuals by making product images more engaging, memorable, and suitable for modern marketing.
Conclusion
A professional product photography setup combines proper lighting, equipment, styling, background, and camera settings. Understanding what product photography is helps brands plan better images for eCommerce and marketing. Strong product photography, along with professional Commercial Photography, can improve brand presentation, customer trust, and overall visual impact.