
-
devcreation
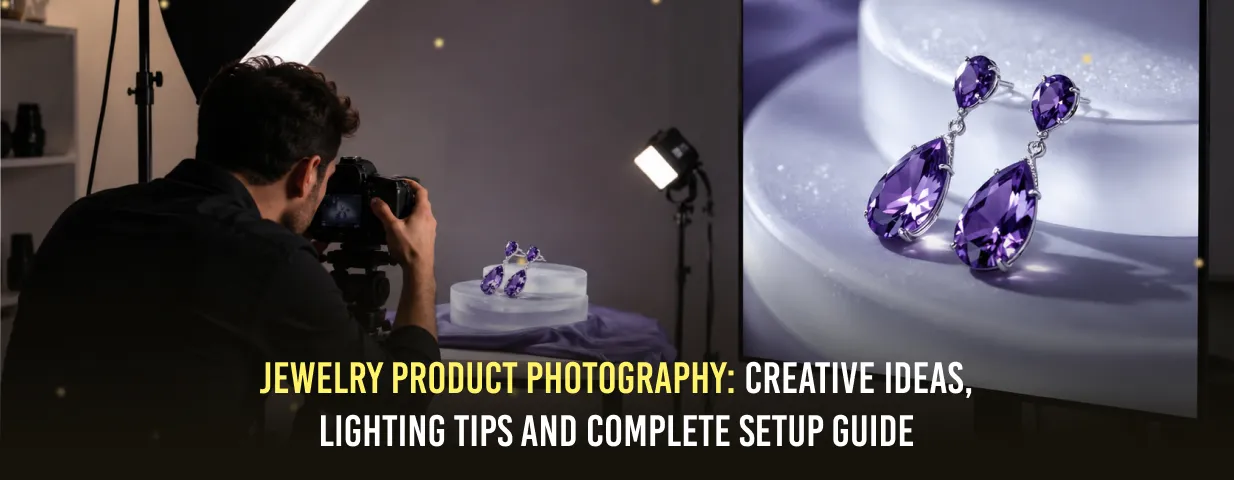
Jewelry Product Photography: Creative Ideas, Lighting Tips and Complete Setup Guide
Online shoppers cannot closely inspect jewellery before buying. Professional jewelry product photography helps them understand design, colour, scale, craftsmanship, and quality through accurate visuals.
Strong images improve brand credibility across digital platforms. This guide covers styling, lighting, equipment, backgrounds, settings, and editing.
What Is Jewelry Product Photography?
Jewelry product photography is a specialised commercial process for capturing rings, earrings, necklaces, bracelets, gemstones, and accessories. It requires precise focus, controlled reflections, clean styling, and accurate colour.
Jewellery images must reveal stone settings, engravings, clasps, textures, and polished surfaces while keeping the product realistic.
Why Professional Jewelry Photography Matters
Clear photographs help customers inspect products confidently and understand their finish, shape, detailing, and quality.
Consistent lighting, framing, and editing make a collection appear premium, organised, and trustworthy.
Common Challenges in Jewelry Photography
Polished metals may reflect the camera or room. Dust and fingerprints also become visible in close-ups.
Incorrect white balance can change metal and gemstone tones. Cleaning and test shots reduce these problems.
Creative Jewellery Photography Ideas
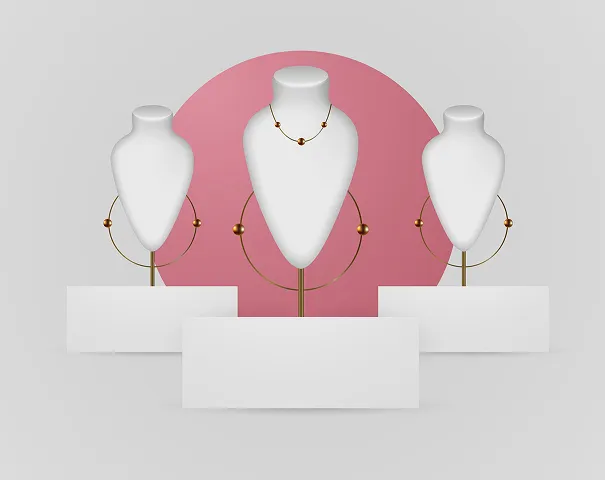
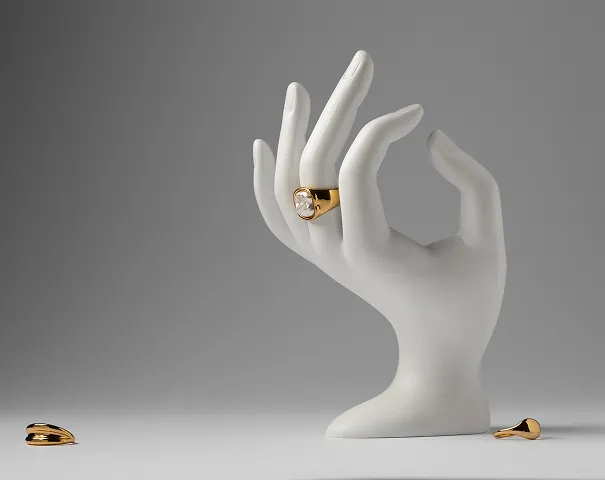
Effective jewellery photography ideas should support the visual story while keeping the product central. Styling must match the jewellery category, campaign, and brand personality.
Minimal scenes suit luxury pieces, while colourful jewellery can use playful settings.
Styling and Props
Minimalist images use clean surfaces and balanced spacing. Lifestyle photographs show jewellery being worn, helping customers understand size and styling. Among the most effective jewellery photography ideas are using natural textures, soft fabrics, marble surfaces, and elegant props that complement the product without drawing attention away from it. Experimenting with creative angles and carefully planned compositions can make each jewellery piece look more attractive and memorable for potential buyers.
Seasonal themes can support weddings, Diwali, Valentine’s Day, or gifting campaigns. Props should enhance the scene without distracting from the product.
- Use fabric, flowers, stone, paper, or packaging.
- Keep props softer than the jewellery.
- Avoid colours that create reflections.
- Leave space for advertising copy.
- Test arrangements before shooting.
Essential Jewelry Photography Setup
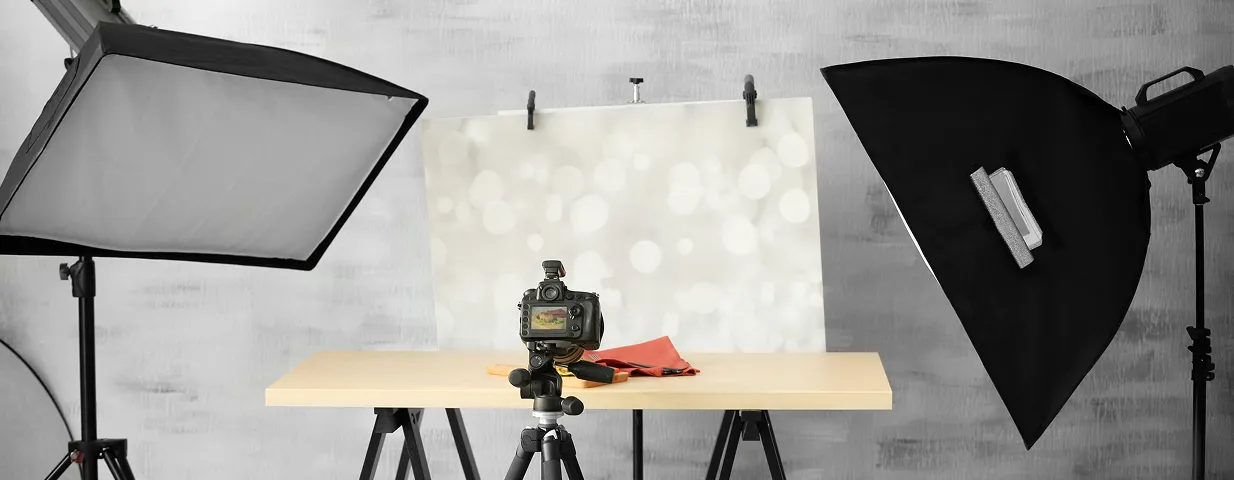
A practical jewelry photography setup should provide stability, soft light, accurate colour, and reflection control.
A camera, macro lens, tripod, diffused lights, reflectors, and cleaning tools can deliver professional results. A well-planned jewelry photography setup ensures consistent lighting, sharp focus, and high-quality images that showcase every detail beautifully.
For businesses looking to create impactful brand visuals, our Commercial Photography services deliver professional images tailored to your marketing and advertising needs.
Camera, Lens, and Tripod
A DSLR or mirrorless camera offers flexibility, while a macro lens captures gemstones, engravings, and textures.
A tripod keeps framing consistent and prevents movement. A remote shutter further reduces vibration.
Lighting Equipment
Softboxes, LED panels, diffusion sheets, white boards, and black cards help shape reflections and brighten shadows.
For a simple home arrangement, use window light, tracing paper, foam boards, and a stable table.
Camera Settings
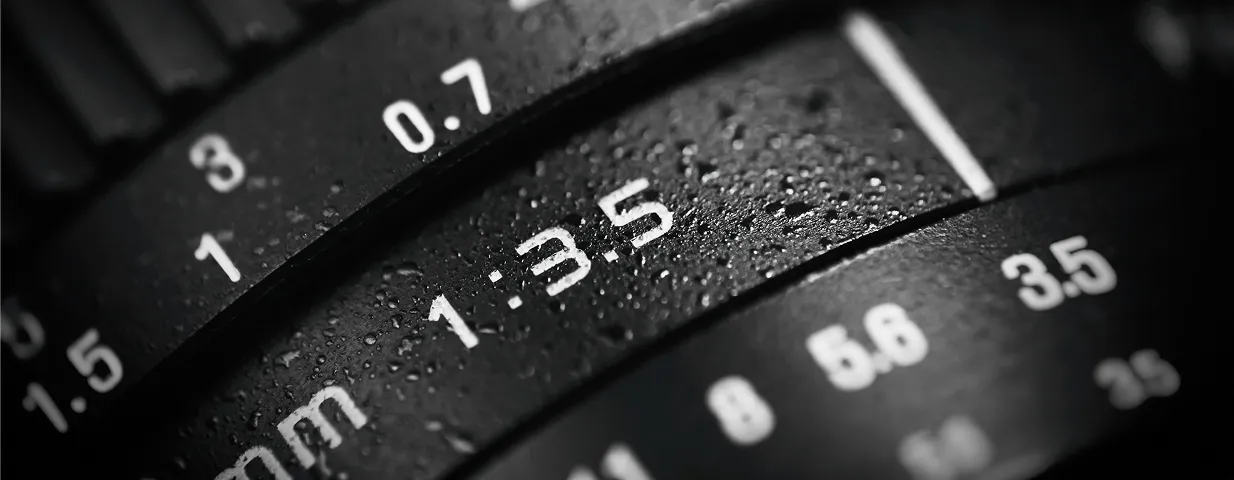
ISO, Aperture, Shutter Speed, and Focus
Start with ISO 100–200 and an aperture between f/8 and f/16. Adjust shutter speed according to the available light.
Use manual white balance and focus for control. Focus stacking can extend sharpness across the product.
Best Lighting Techniques
Soft, diffused light is essential in jewelry product photography because it creates smooth highlights and limits glare. Larger light sources generally produce cleaner reflections.
Window light is affordable but variable. Studio lighting provides consistency for repeat shoots.
Reflection Control
Place diffusion material between the light and jewellery. Adjust lights, reflectors, and black cards until the metal has balanced highlights.
Review test photographs at full size before starting the final shoot. This makes it easier to detect focus, colour, dust, and reflection problems.
- Confirm that metal colours look natural.
- Keep gemstones bright without losing detail.
- Remove reflections of the room.
- Check focus across important areas.
- Keep light positions consistent.
Choosing the Right Jewellery Photography Background
A suitable jewellery photography background creates contrast, supports the brand style, and keeps attention on the product. White, grey, beige, and neutral tones suit clean displays.
Textured paper, marble, stone, fabric, and acrylic can create a premium mood. The surface should not change the product’s colour.
White, Black, and Creative Backgrounds
White works well for e-commerce and catalogues, while black can give gold, silver, and diamonds a luxurious appearance.
Creative surfaces suit advertising and social media. Avoid busy patterns, reflective materials, or competing colours. Selecting the right jewellery photography background helps highlight every detail, enhances product appeal, and ensures the jewellery remains the main focus of the image.
How to Photograph Jewellery
Learning how to photograph jewellery begins with preparation. Clean each piece, remove dust, and handle it with gloves afterward.
Position chains, clasps, pendants, and stones carefully. Thread, museum wax, stands, and clips can hold products securely.
Capture Essential Views
A complete gallery should answer common customer questions and show useful perspectives.
Each photograph should provide new information rather than repeating the same product angle.
- Take a clear front-facing image.
- Capture side and back views.
- Add close-ups of stones and engravings.
- Include a model image to show scale.
- Photograph premium packaging when relevant.
Editing Tips
Editing should improve jewelry product photography without changing the real product. Remove dust, supports, minor marks, and distracting reflections.
Correct exposure, white balance, sharpness, crop, and background consistency. Save a high-resolution master before creating website versions.

Common Mistakes to Avoid
Direct flash, mixed lighting, high ISO, distracting props, inaccurate colours, and inconsistent crops can make jewellery look poorly presented.
Excessive sparkle, sharpening, smoothing, or colour enhancement can reduce customer trust.
Professional Tips
Consistency is essential in jewelry product photography. Define the camera angle, lighting, crop, dimensions, shadows, and editing style before shooting.
Plan a complete set with clean product images, macro details, model views, lifestyle scenes, and campaign visuals.
If you want stunning product images that drive online sales, explore our Product Photography services for high-quality photography solutions designed for eCommerce and retail brands.
Conclusion
Successful jewelry product photography combines preparation, controlled lighting, suitable equipment, thoughtful styling, and natural editing. A consistent process helps jewellery brands communicate craftsmanship, build trust, and improve online shopping experiences.